How to Use TokenPocket and Registration Procedure! A Crypto Currency Wallet Can Be Used on iPhone!
- 2021.02.01
- CryptoCurrency

TokenPocket is a completely Japan-made smartphone application designed for the Ethereum・ERC20 token. Able to be used on iPhones, unlike MyEtherWallet, the ease to manage the wallet simply by a smartphone application is one of the greatest attractions of tokenPocket. This article will introduce the registration procedure of tokenPocket and explain how to use it.
Players of DApps games and investors of ICO are likely to have multiple online wallets already.
More and more online wallets came in with Japanese version in recent times, which made it easy to understand and safer to manage users’ asset.
However, the difficulty of accessing through smartphones is a commonly acknowledged drawback. Online wallet is generally accessed obly through personal computers.
In such situation, tokenPocket, the wallet application that allows users to manage Ethereum easily through iPhone has drawn huge attention.
This article will introduce the application tokenPocket, and also explain the registration procedure as well as how to use it.
What is tokenPocket?
TokenPocket is a wallet application released by TokenPocket Ltd. in March 2018.
It is available only in AppStore at current time October 2018, which has made it an application provided especially for iPhone users.
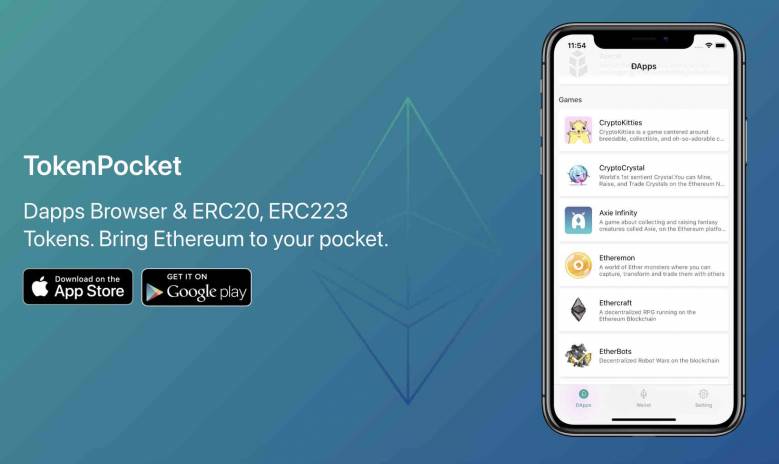
It is able to apply to a total of 15 types of Dapps, including Dapps that has a large user base such as “CryptoKitties”.
On the official site it is stated that more Dapps will be added sequentially, therefore tokenPocket can be expected to use in various Dapps.
Features of tokenPocket
It can be apply to Ethereum and ERC20, which allow users of MyEtherWallet or other existing online wallet to make a smooth transition.
In addition, tokenPocket is an application entirely made domestically, and needless to say it is compatible with Japanese language.
There are many existing online wallets that are compatible with Japanese language, but foreign made applications usually make slight and subtle mistakes on the nuance.
This kind of mistake will not happen in tokenPocket, and another advantage of tokenPocket will be the operation screen and supporting.
Since users can access and operate easily with the application, they can effortlessly play the Dapps games while safely manage their assets.
Registration Procedure of tokenPocket
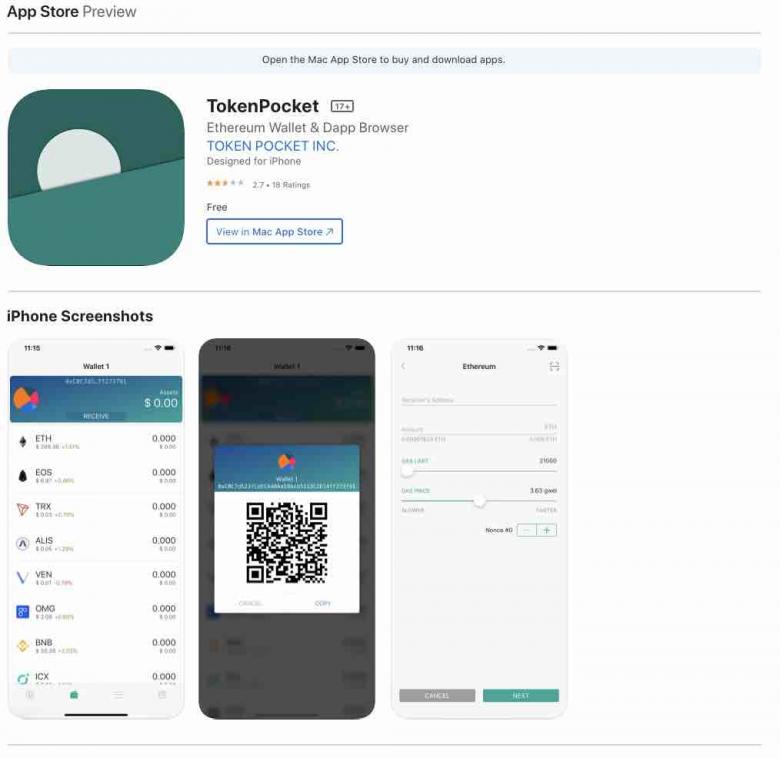
First, let’s download the application from AppStore.
It is announced that for safety reasons, it supports only the latest version of iOS11.
Users can also check the method of creating a wallet from the official site.

TokenPocket FAQ. Got questions? We’ve got answers. | by トークンポケット公式 | Medium
Before you start, don’t know anything about Ethereum, Wallet? The below link is good to start for someone like that. Frist tap “Create Wallet”, and fill in necessary information like your wallet name…
Let’s start by creating a wallet.
Users are able to create multiple wallets, and therefore the wallets can be divided and used separately based on the usage such as for Dapps, for ICO, or for Airdrop.
As for the password, the official site has recommended users to set it with an alphanumeric mixture of 10 characters with at least one capital letter.
Please note that the password will be used in the future, hence it is suggested to keep a written or digital record.
Be sure to make a backup once you have set the password.
As with every other wallet, using the wallet without requiring a password will be a great potential danger to the security system.
In tokenPocket (token pocket), the QR code, which is necessary for receiving Crypto currency and other functions, will not be displayed until the backup process is completed.
Backup can be made through key-store files.
As long as users have their key-store files and the password set for the first time, they can restore the wallet safely if any incident occurs.
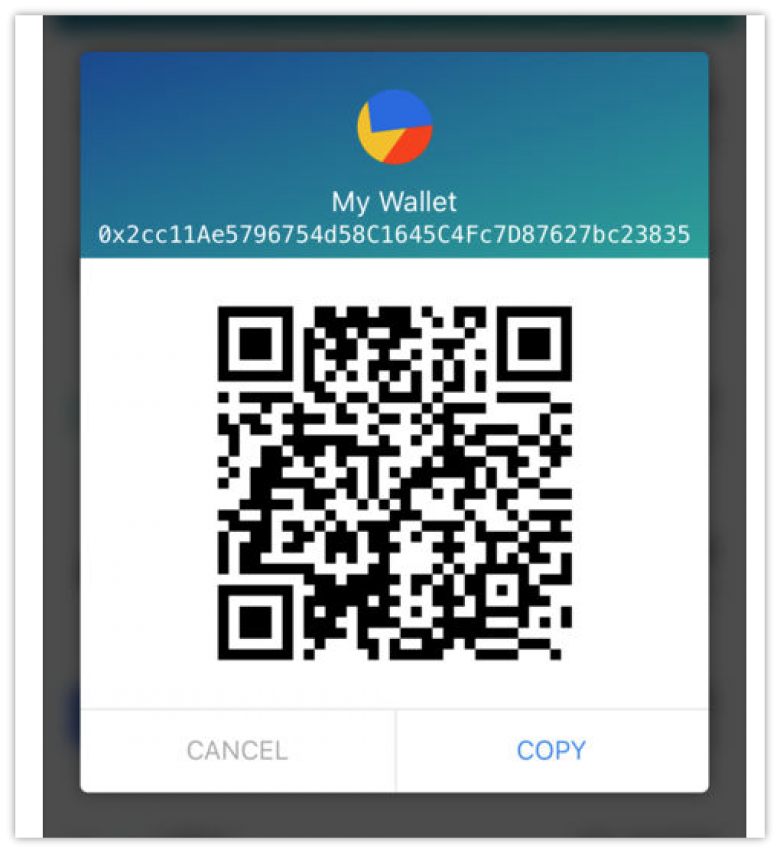
Finally, if the QR code is displayed as shown below, the setting is completed.
How to Use tokenPocket
Let me first introduce the method of sending Ethereum and ERC20 through tokenPocket.
Please tap the currency you would like to transfer from the administration screen and then tap the "Money Transfer" button displayed at the bottom of the screen.
Then you will see a column that is for users to enter the destination address of the remittance. After entering the address, the column for the amount of the remittance and GAS limit will be appeared.
The GAS is a service charge associated with the remittance, the higher it is the faster the transition will be.
After that, type in the password you created when you created your wallet, and the transition is complete.
How to check the tokens received by AirDrop with tokenPocket
To check the token received by ICO or AirDrop with tokenPocket (token pocket), users only need to click "Add token" from the administration screen and search for the received token.
The verification will be finished through the simple steps above. The extremely simple way to manage asset is another merit for tokenPocket.
How to import asset from other wallet to tokenPocket
Tap “Import Wallet” from the left side of the menu of application management screen.
Then, the column for entering the private key (secret key) or keystore file will be displayed.
Please enter the private key or keystore file of the wallet you want to import such as MyEtherWallet or Meta Mask here.
In addition, for security reasons, it is recommended not to input the private key directly, but to enter it with keystore file.
Summary
This article has explained the usage and the procedure of registration of tokenPocket.
It can be applied to most tokens that are based on Ethereum, and thus made managing assets easier for its users.
In addition, the operation screen is designed in an easy to understand way, and it is safe and simple to be used as a main wallet.
For iPhone users who play Dapps games, it would be a great choice of a wallet to use.


